The CTX 3030 is a great metal detector that can be used many different ways, and in this blog post I'm going to show you how I use it.First I need to explain where and what I’m searching for. In the UK I search for ancient finds rather than the more recent finds like milled coins. My entire quarry dates older than 300 years, and I often search for finds over a thousand years old. So Search Modes (programs) used to find coins in parks just don’t cut it for me.The majority of ancient coins are smaller than modern coinage. This is because most of them have an intrinsic value; made from gold, silver or copper alloys. This also tends to make them thinner and lighter. Some small denomination medieval silver coins can sound like tin foil. Most of the CTX 3030 preset modes have a discrimination pattern too aggressive for these tiny coins, reducing depth and sensitivity.So I need a discrimination pattern more suitable for my quarry, in fact I needed four. Two based on the "Tadpole" pattern I used to use on the E-TRAC… a third with a single line of discrimination along the bottom of the screen... and then a final one “wide open” with no discrimination.The easiest way to build these patterns and modes, is using the XChange 2 software. You can build them within the detector, but using the software it’s just so much easier... and this way you end up with saved programs you can share.
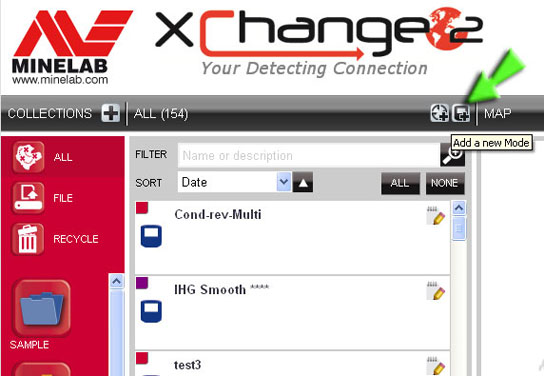
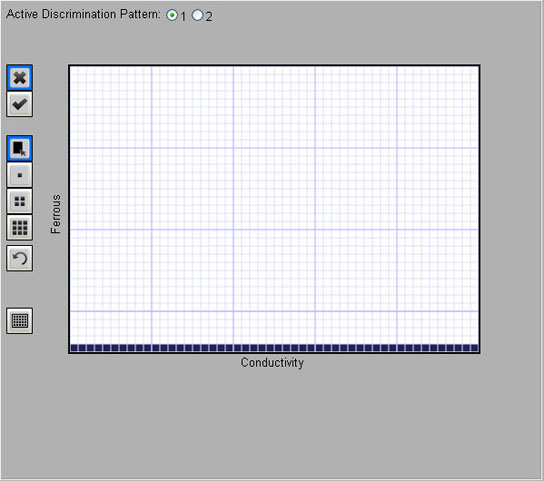
To build a mode open XChange 2 and click on the “Add a new mode” button (Fig 1). Choose a collection (folder) to store the mode in, and then a new window will open with a factory mode ready to be customised. Click the plus symbol to the left of the pattern window, then click the "Accept All" button lower down (fig 2) To clear the pattern.
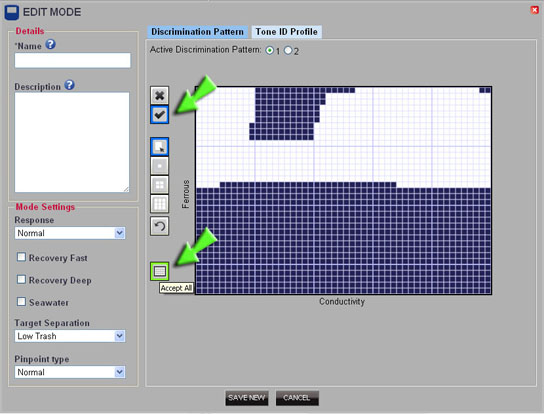
Accept all to clear the screen
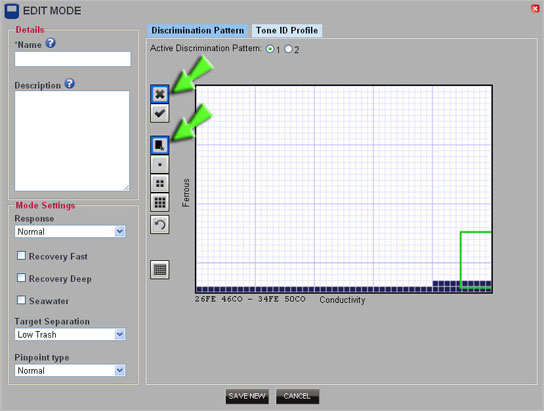
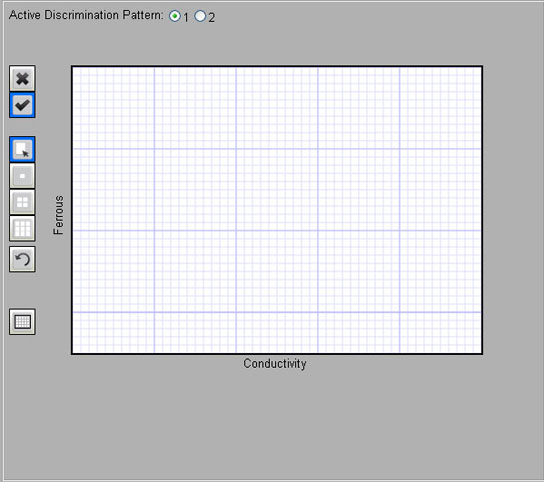
Building a pattern using the rectangle tool
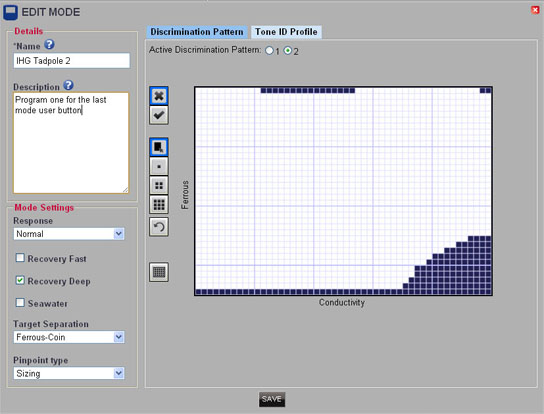
Now click the cross symbol and drag your curser over the discrimination screen to build your pattern (fig 4). Then click/check pattern 2 and build a second pattern (fig 5). So that's two patterns on the first mode done, now click the audio tab and choose "50 conductivity". The low tone I set to 75 giving low grunts to thin section targets. Set the high tone for your personal hearing, you want a range that you can easily differentiate. For my personal hearing I use a high setting is 862

Figure 5 is a Second slightly more aggressive pattern
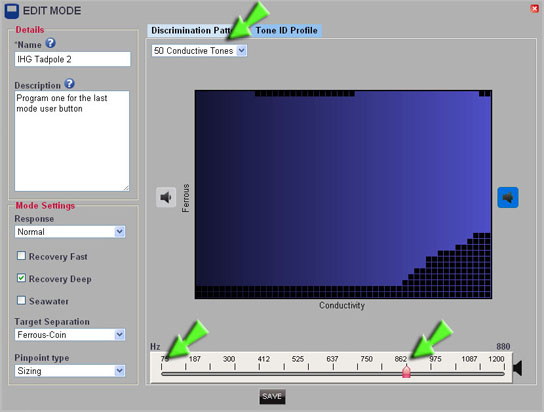
Setting the tone ID profile: Now let's finish the first mode by selecting the following settings;Response – NormalRecovery Fast – OffRecovery Deep – OnSeawater – OffTarget Separation - Ferrous-CoinPinpoint type – SizingName and save the first mode, and then repeat the process for the second using the same settings. The patterns for this mode are less aggressive. The first is just a single line along the bottom of the screen (fig 7). The second pattern is left clear (fig 8). Save this second mode and you are finished, it's just a matter of uploading the new modes to your detector. Connect your CTX 3030 to your PC and drag the two new modes onto the CTX 3030 icon top left.
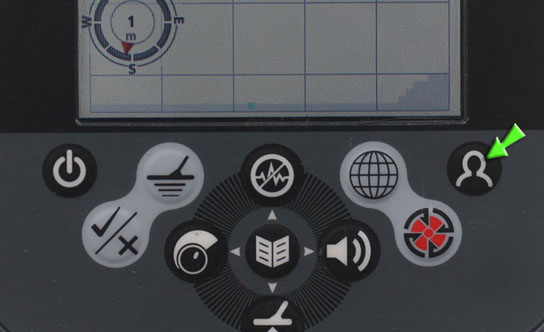
To use both modes at the push of a button; press and hold the user button, and then scroll down and select "Previous Mode".To use this feature in the field; choose and load the first of the new modes. Press the detect button, then back to the menu and choose the second mode. Now you can switch between the two modes by just pressing the user button.
So that's part one complete, in part two I’ll explain what I'm trying to achieve and the best way of using these modes.Now get out there and find something!
Blog by Gordan Heritage

